teaching painting

A few things more on teaching painting by Sandra Meigs

This is the last teaching post for a while. This is a list of things I have done and told to my 200 and 300 level painting classes. 

Please suggest others in the comments. 

  • Whatever you do, do it poorly. (Stop trying to be so good at it. You will learn more.)

  • Fail three times then succeed one time. Then do it again.

  • Try to make a bad painting. Bad ideas, bad colour, bad composition, bad technique. Put them all in a class critique and have seriously verbose discussions about them all.

  • After the last project, try to make the best painting you have ever made. Really engaging ideas, really brilliant use of colour, really good attention to your technique, and brilliant compositional plays. Put them all in a class critique and have a seriously verbose discussion about them all.

  • Look at one of your older paintings and do a new painting trying to do everything the opposite. 

  • Make a painting that defies the rules of composition.

  • Make up a few rules you will use on a painting before starting. Stick to the rules.

  • Make a still-life of all brown objects. Paint using only earth/brown pigments.

  • Make a dark painting.

  • Paint a portrait of a poltergeist. 

  • Make a still-life painting without using any black or white.

  • Make “the same” painting 10 times. Can be on paper. If you do paint on paper, gesso the paper first.

  • Make a painting, then turn it upside down and make it into something else.

  • Make a painting as you like, then ask the painting what it needs or what it does not need anymore. Respond to the painting’s answer. Gesso is a good editor. Keep asking the painting what more it wants until it stops speaking to you.

  • Put your finished painting up for a class critique. Listen. Spend a week looking at it. Make changes to the painting. Take it in again for the next critique.

  • Go to the library. Peruse the stacks in the books on painting section. Find a book that speaks to you. Check out the book. Read it. Give a book report to the class explaining what the book is all about. Listen to all the other reports and take notes of the books you want to read.

  • Use the library often.

  • Spend the most money on good brushes. Always wash your brushes well. Sunlight laundry bar soap is a good cleaner. Dry and store your brushes flat.

  • Spend money on good quality paint. If you are going to use cheap paint, do it on purpose.

  • Go to galleries. Look at art. Talk to your peers about what you see.

  • Read artist’s biographies.

  • Near the end of a semester, after I had gotten to know each student’s work, I gave a prescription assignment, unique to each student. Asking them to defy their habits in some constructive manner. Everything was prescribed to get them to think differently from their habitual approach. It was fun!

  • Visit other artist’s studios. Exchange ideas. 

    Posted: September 6, 2022

    Photo: My office at U Vic. March, 2016.

    If you teach, please share your ideas below.

The Painting Ground and Basic Pigments for the 101 Class (#4) by Sandra Meigs

I loved teaching Intro Painting. This was one of my favourite lessons, all about the reflectivity of the painting surface, the ground, and the pigments. These days you’d probably do this on a powerpoint but I used to write it all on a chalk board or white board, which made it even more fun. I would also have a palette and paint ready to do demos. The Painter’s Craft, by Ralph Mayer, Penguin 1979, was required reading, a great reference book, still in print. There is also Ralph Mayer’s Artist Handbook of Materials and Techniques, which is much more detailed for the advanced painter.

Teaching painting required a balance between very basic technical principals, like these, and exploring the possibilities for what painting lends to expression. Certainly the loaded historical baggage of painting comes with huge territory that one needs to both learn and unlearn. For that, talks about both historical and contemporary artists was helpful. Critiques were a way to talk through both the ideas and the formal strengths and weaknesses of each work. Simple practice was the only way to learn. Work, work, work. Fail and succeed. This is learning.

The presence of a teacher walking around the studio also had a role to play. At one time classes were limited to 12, if you can believe it, but by the time I retired class size was up to 30 (not good for anyone). As a teacher, I was aware that my presence could be inhibiting. Playing music was good, in those days when everyone wasn’t wearing their own ear phones. Words of encouragement were good, and giving technical suggestions was about all I could do. Students learned from each other too, sometimes more than from their teacher. At the University of Victoria, where I taught, we also required that students learn to build their own stretcher frames, stretch their canvas, and prime it, at the 101 level.

Here were some things covered in this lesson:

The Ground

  1. The ground, the surface upon which artists paint, is the base of the painting and the light inside it. Paint filters light that is external to the painting through to the ground where it becomes internal and then reflects back out to the viewer.

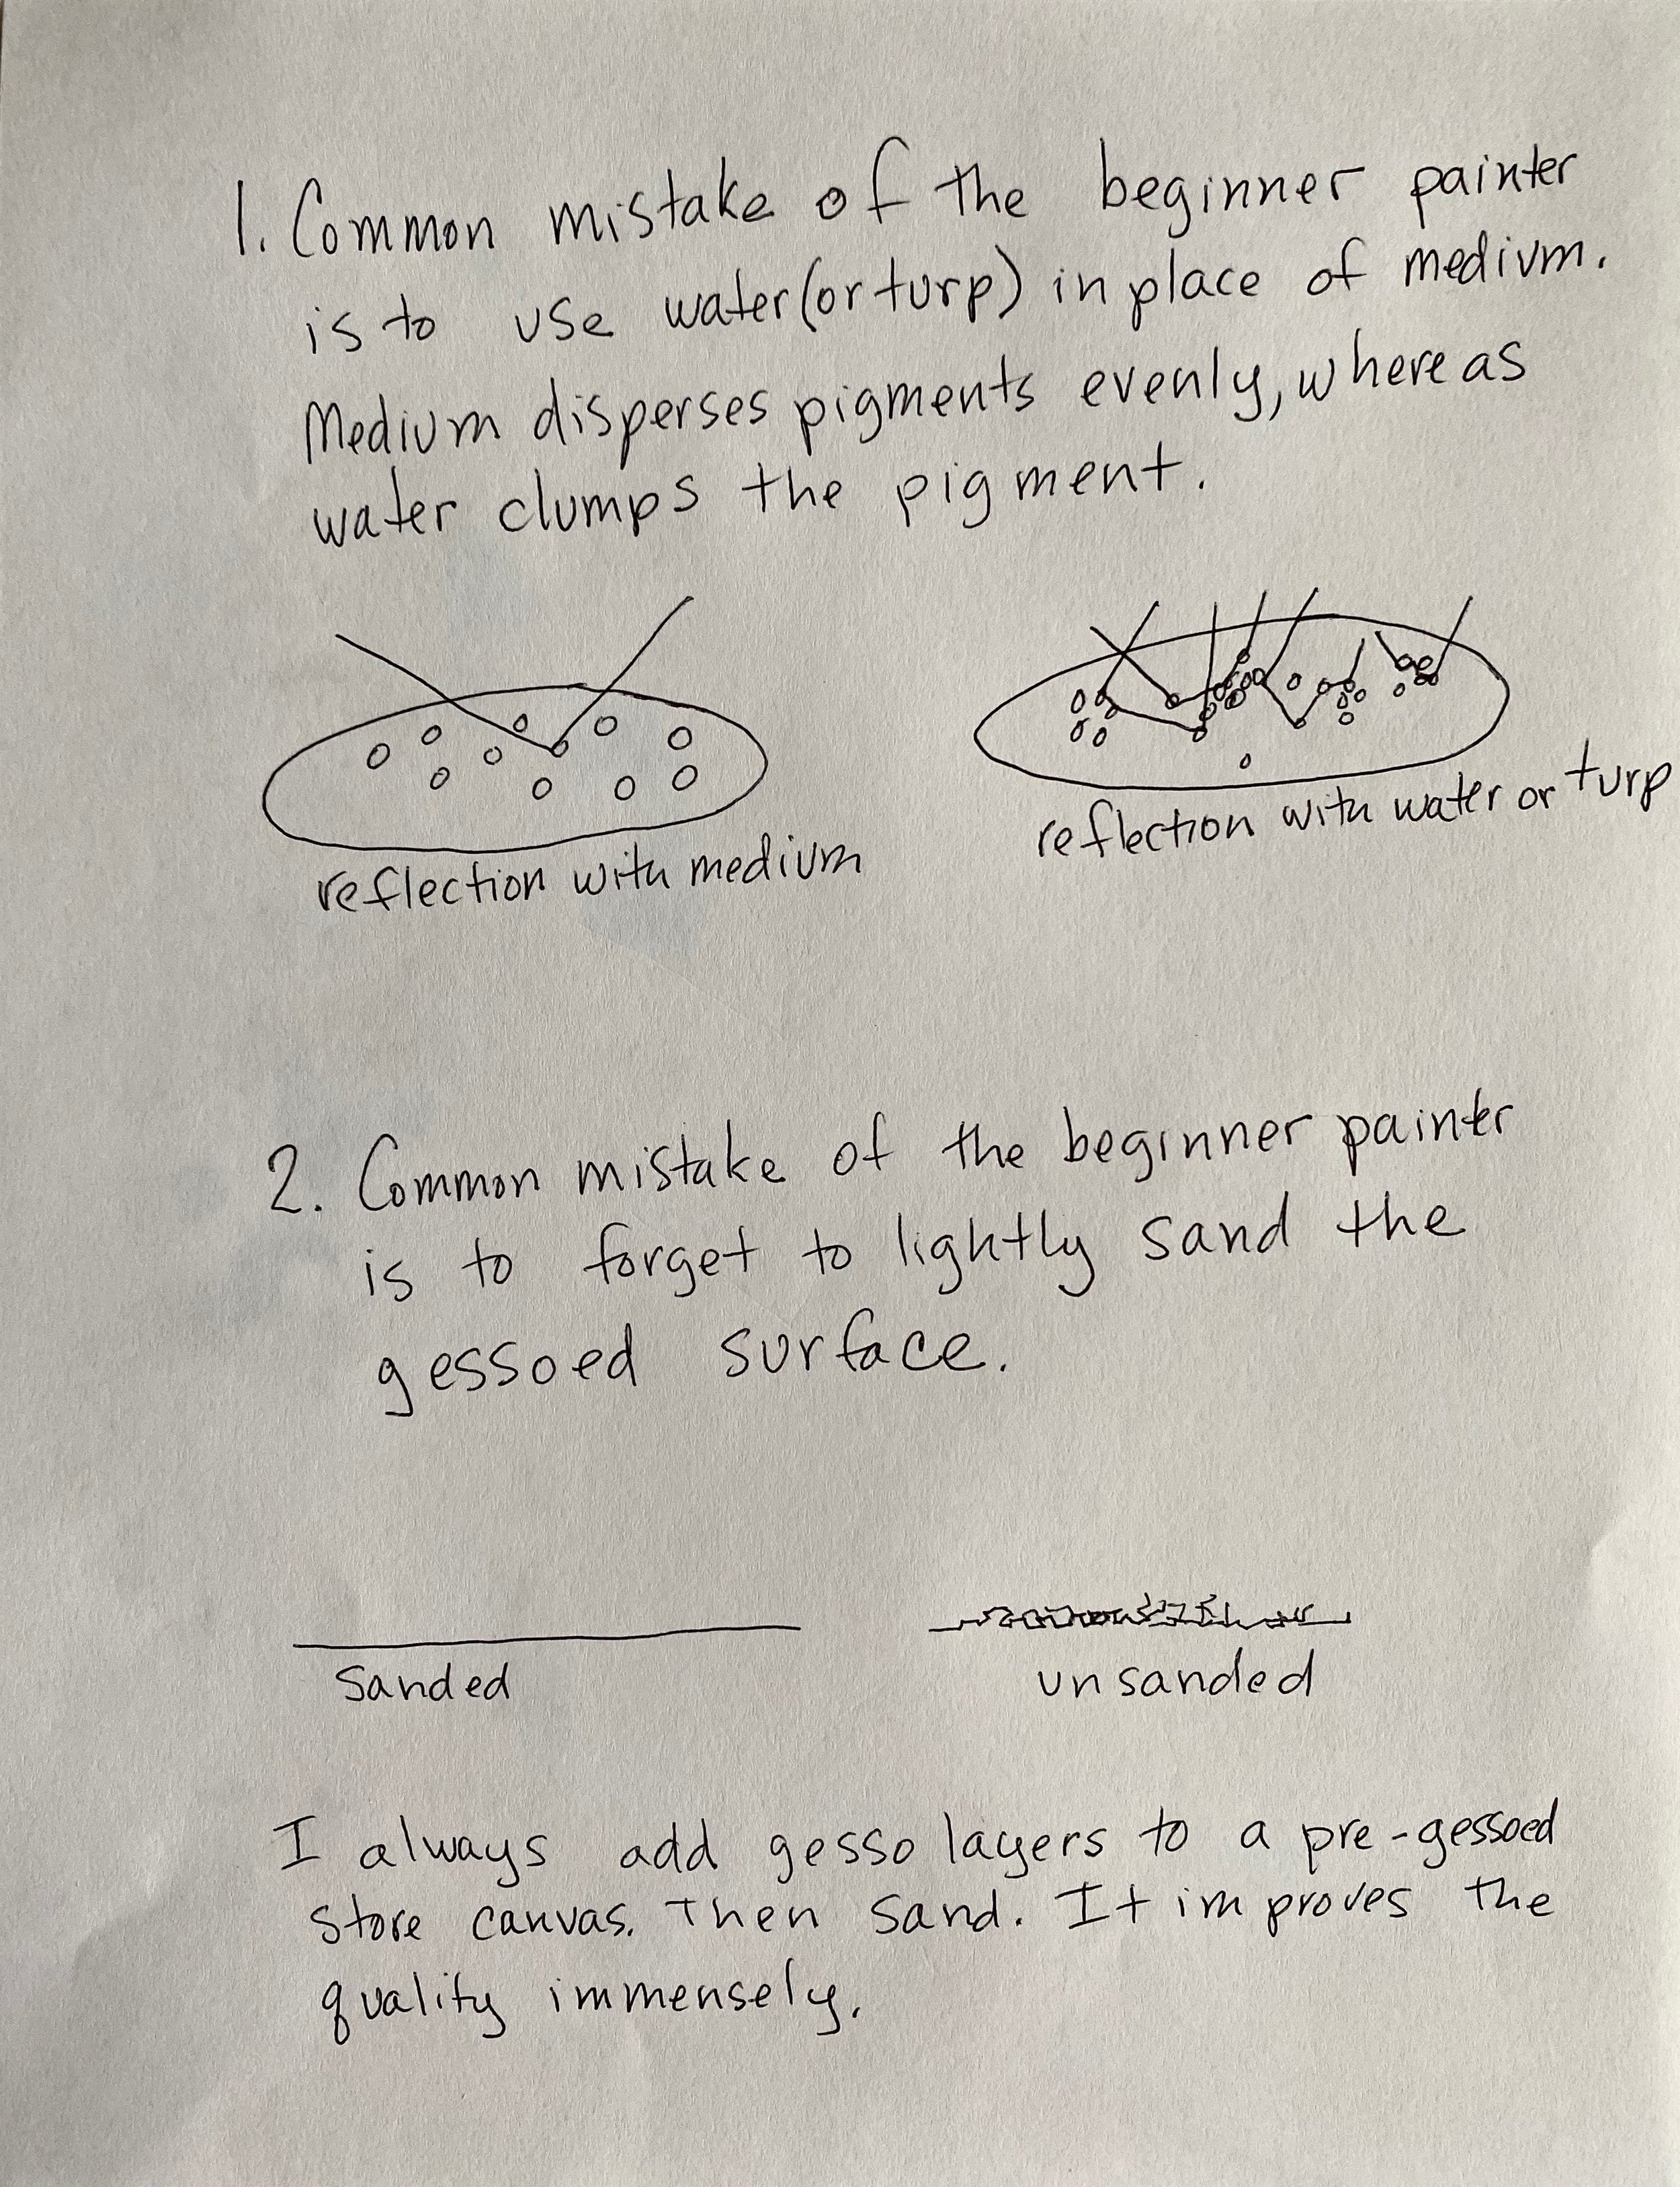
  2. The handling of the ground helps determine the painting. The density and texture of the grounding medium determines the behaviour of the paint/filter on the surface. The more dense the gesso, the more regular the reflection.

  3. You can put a ground on many different kinds of supports, ie. canvas, plywood, hardboard, cardboard, or found objects.

  4. Prepared Gesso is the common ground we will use in this class.

The Basic Pigments

Each pigment has its own characteristics. You should get to know them all. Sometimes the beginning painter thinks they can paint the rainbow colours, but it doesn’t work like that since you are dealing with a substance and a ground, not with coloured light. The pigments’ characteristics are the same whether you are using oil or acrylic.

Get to know your pigments. The colour of paint straight from the tube is called its mass-tone or top-tone. Each pigment has different characteristics when you mix it with white (its undertone). Here some of the essential pigments.

Mars Black, Carbon Black, Ivory Black

Titianium White, Zinc White

Cadmium Red Deep, Cadmium Yellow Light, Cadmium Red Medium

Alizarin Crimson,

Cerulean Blue

Yellow Ochre

Burnt Umbre, Raw Umbre

Phthalo Green, Oxide Green, Sap Green

Phthalo Blue, Ultramarine Blue

Paynes Gray

Burnt Sienna, Raw Sienna

The history of pigments is fascinating, from the early days of grinding rocks, dried plants, or scrapping soot from lamp covers, to the use of industrial waste. For example, Ultramarine Blue was originally made from Lapis Lazuli. Because it was rare, in the Renaissance it was used in religious paintings to signify Holiness. Some paints were discovered in industrial wastes that were vividly coloured. Turner Green, for example, was developed for John Turner from industrial run off. Synthetic Violet was accidentally discovered through research into a cure for Malaria. Painters would grind their own pigments, then add mediums to them to make the viscous substances used on their canvases.

Always remember that pigments are very toxic and all precautions must be taken not to imbibe, or get on the skin.

The 5 Basic Kinds of Pigments

Because some pigments have been made from organic substances or evaporative processes and chemical methods, they can be fugitive, as opposed to inert. Both their chemistry and their UV absorption affects how archival they are. This is also outlined in the book. Certain varnishes will protect the painting from UV rays.

Native Earths

Calcined Native Earths

Artificial or Synthetic Mineral Colours

Synthetic Organic Pigments

Lakes and Toners

Opacity and Transparency Varies from Pigment to Pigment

This is important to know because you can take advantage of the reflective quality of the ground if the pigment is transparent. Glazing, for example, is a technique that is most effective with transparent colours.

Opaque Pigments

All Cadmiums (red, yellow, orange)

Vermilion

Venetian Red

Indian Red

Yellow Ochre

Naples Yellow

Cerulean Blue

Titanium White

Ivory Black

Transparent Pigments

Alizarin Crimson

Quinacridone Red

Viridian

Phthalo Blue, Green Turquoise

Ultramarine Blue

Cobalt Violet, Blue

Sap Green

Jenkins Green

Hansa Yellow

The manufacturer’s colour chart will show the transparency of each pigment, its mass-tone (from the tube) and its undertone (mixed with white). You can often pick one up at the art supply store to keep for reference.

Reading:

The Painter’s Craft by Ralph Mayer, published by Penguin Books, 1979 

Bright Earth: Art and the Invention of Color by Philip Ball, The University of Chicago Press, 2001

Posted on August 29, 2022